Aug
Caprese Salad + Kale Pesto
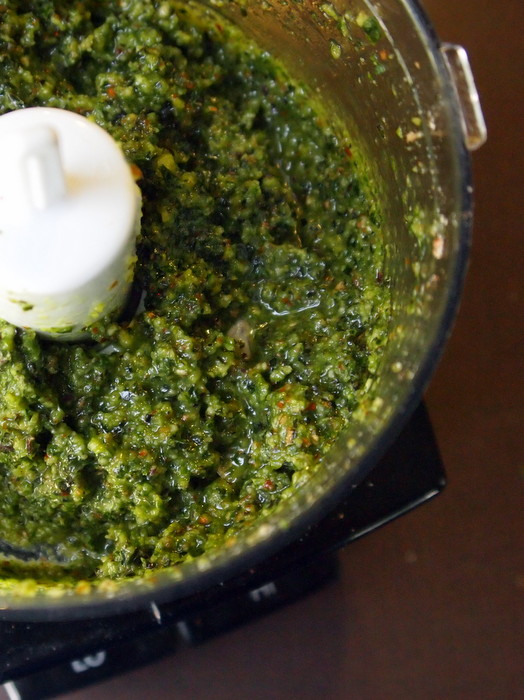
This was my first time making kale pesto. It will not be my last. In fact, I think I might be a life long convert. I can hardly imagine going back to plain old basil pesto ever again. The earthly flavor of the kale takes this herby spread to a whole new level. It’s like pesto and a zesty kale salad all rolled into one. Oh, and guess what? I mixed things up a bit by leaving out the parmesan and switching the pine nuts for almonds. I know…we’re getting crazy over here. But it worked. It worked perfectly. I didn’t miss the parmesan at all and the almonds gave it a more nutty than piney flavor- if that makes any sense. Anyway, kale pesto is where it’s at from now on as far as I am concerned. Good thing because I went all out and made a huge double batch, most of which is now occupying one corner of our freezer. Kale pesto for life!
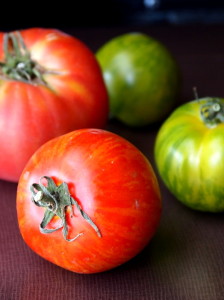
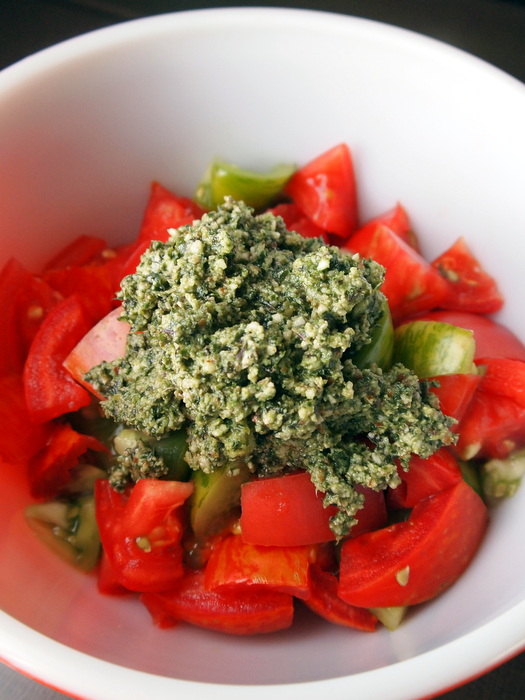
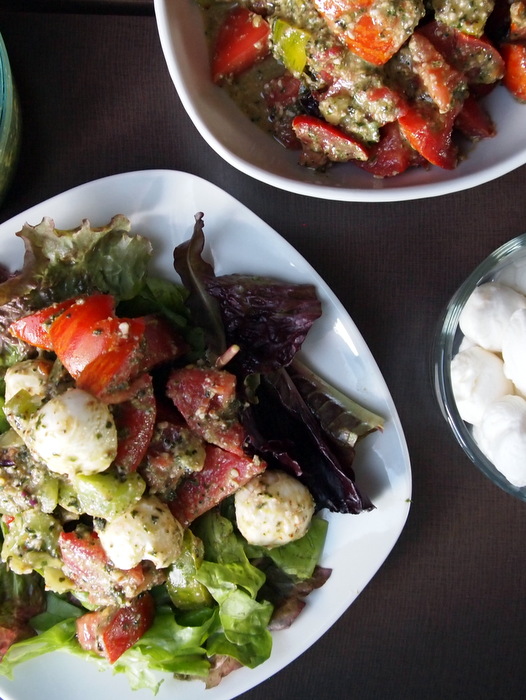
There are a million things I could have eaten this amazing kale pesto with. It would be wonderful as a sandwich spread or pizza topping, drizzled over hot noodles, slathered on grilled chicken or fish, combined with rice and stuffed inside a red pepper…the possibilities go on and on. In the end I decided to keep it simple though and combined the pesto with some juicy ripe heirloom tomatoes and tiny little balls of fresh mozzarella atop a salad of mixed greens. Perfect, easy, summer in a bowl.
Caprese Salad + Kale Pesto
Serves: 4-6 + makes extra pesto
adapted from Arugula Caprese Salad with Kale Pesto by Sprouted Kitchen
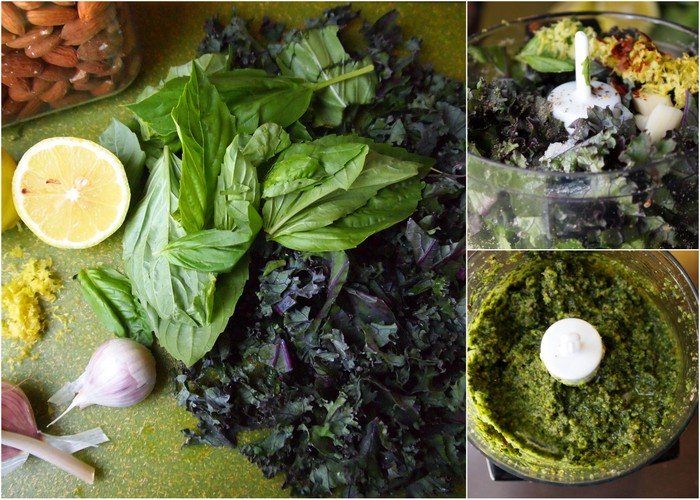
1 cup fresh basil
1 cup kale, roughly chopped
1/2 cup almonds
2 garlic cloves
zest + juice of 1 lemon
dash of salt & pepper
pinch of red pepper flakes
1/2 cup olive oil
3 cups mixed greens
8 ounces small fresh mozzarella balls*
1 pound tomatos
* Vegan option: I made this dish for our friends who don’t eat dairy. I kept the mozzarella balls to the side and they brought along a vegan Moxarella cheese made out of cashews. I tried it and was surprised by just how good it was.
1. Pulse the almonds and garlic in a food processor until roughly chopped. Add the basil, kale, lemon zest and juice, salt, pepper, and red pepper flakes. Pulse to combine then slowly drizzle in the olive oil and pulse a few more times until the consistency is how you like it. Add a bit of water or more lemon juice for a thinner pesto.
2. Slice the tomatoes into bite size pieces and the mozzarella balls in half. Toss with a few generous spoonfuls of pesto. Let sit at room temperature for up to an hour or covered in the fridge for several hours to meld the flavors together.
3. Serve the tomato, mozzarella and pesto mixture over mixed greens.
Aug
Cherry-Berry Chia Seed Pudding Tarts
If you’re anything like me than you associate chia seeds with those funny terra-cotta animals covered with sprouted greenery called Chia Pets. Come on, I know you remember those. Maybe you even had one. Was it the pig, the bunny rabbit, the garden gnome, or maybe something fun like Bart Simpson or Garfield? And how about the jingle that went with the Chia Pet commercial? Cha..cha..cha..chia! How could you forget. Well, at some point someone discovered that chia seeds are good to eat. Really good to eat in fact. According to nuts.com chia seeds are high in Omega-3s, help reduce blood pressure, and control blood sugar levels, among other things. The really cool thing about chia seeds is that they absorb liquid and create a kind of chia-gel that helps with hydration and makes your body feel fuller faster. It’s this quality that makes chia seeds perfect for pudding. It’s simple- you mix chia seeds with the milk product of your choice- be it almond, coconut, soy, rice, or just plain old cow milk- stir, chill, and before you know it you have a thick, tasty pudding. Pretty amazing if you ask me. We’ve been eating chia seeds sprinkled on our morning yogurt for quite a while now, but this was my first time delving into the world of chia seed pudding. It couldn’t have been easier and I can’t wait to experiment with this recipe and try some different versions.
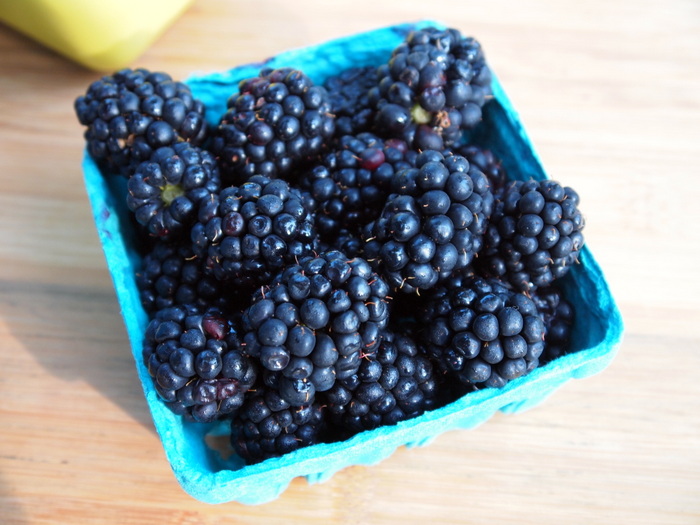
The idea to make chia seeds pudding all started with these huge blackberries that I picked up at the farmers market last week.
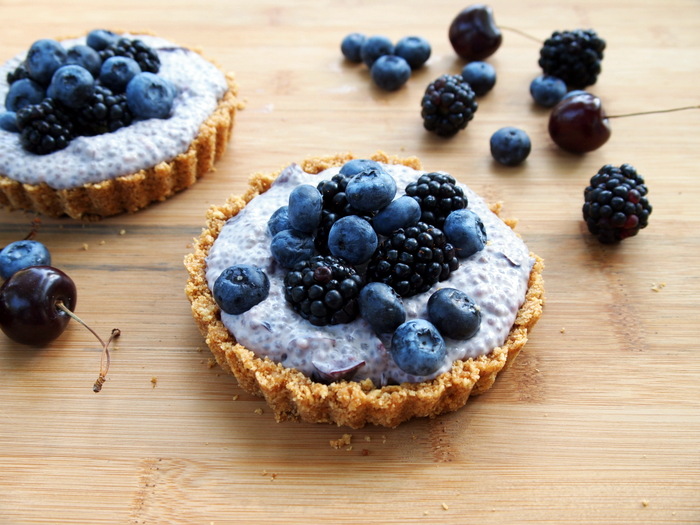
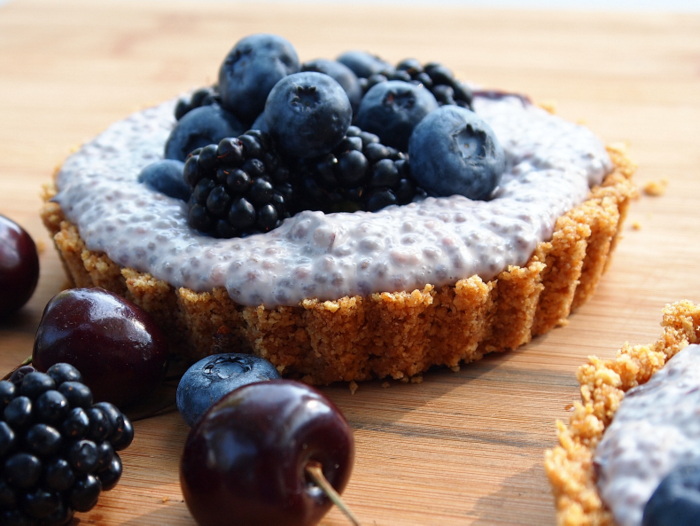
I was going to attempt for the third time to make No Bake Orange Cream Tartlets with Mixed Berries from the Oh Ladycakes Blog. I love the look of these no-bake tarts filled with coconut whipped cream and piled high with fresh berries. The problem is that despite my best efforts, I simply cannot get the coconut milk to whip up properly. About a month ago I tried twice and gave up both times in frustration after whipping for what seemed like a ridiculous amount of time, and ending up with milk no thicker than when I started. I really wanted to make these tarts though,and for about half a second I was tempted to try again. But then I came to my senses. Instead I decided to use the coconut milk and make chia seed pudding as a substitution for the coconut whipped cream. I worked perfectly except that chia seed pudding is not nearly as pretty as coconut whipped cream. The dark seeds give it a funny, bumpy texture. But trust me- it tastes fantastic.
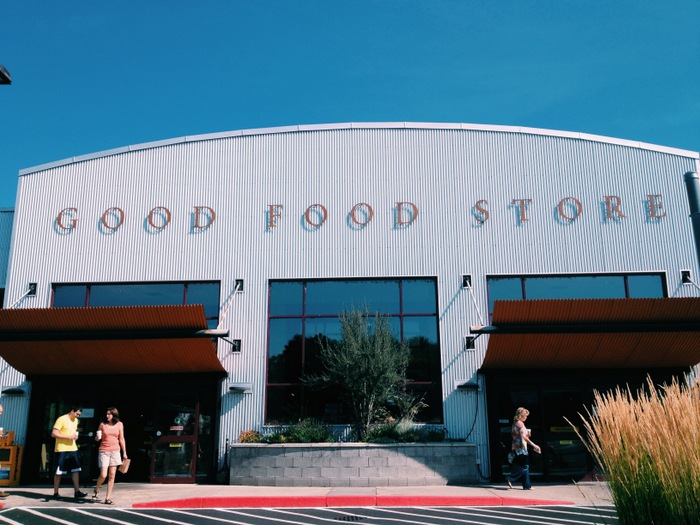
Oh, and those dark red bits in the pudding- those are cherries. How did those get in there you ask? Well it all started with raspberries. You see I wanted to go raspberry picking but when I arrived at the pick-your-own farm it was closed. Boo, how sad for me. Okay, plan two. I would buy some raspberries from the store. So I went to the Good Food Store here in Missoula where I was sure they would have some pints of local raspberries that I could pretend I picked. Except they didn’t. The raspberries were the same Driscoll’s brand grown in California & Mexico that all grocery stores sell in those tiny containers for like a million dollars. Since I already had both blackberries and blueberries from Montana, I really didn’t want to add raspberries from out of state, or out of country, to the mix.
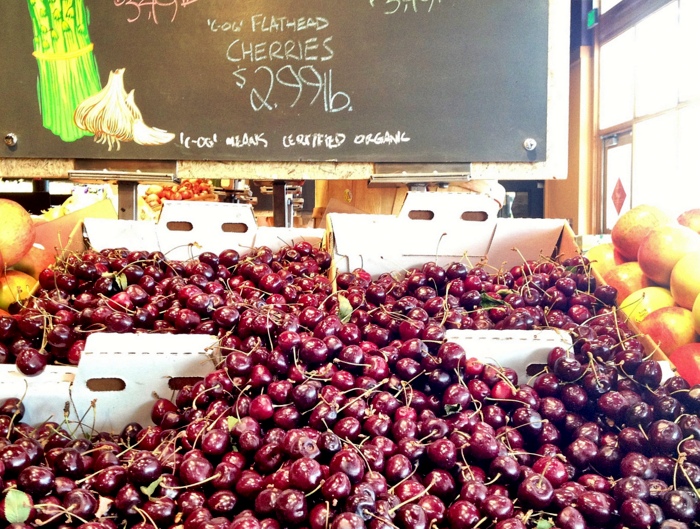
Luckily I found something better. Cherries! Montana apparently grows some really tasty cherries. These come from the area around Flathead Lake which is only an hour north of Missoula. If I can’t have local raspberries, than cherries are an excellent substitution. I decided to put the cherries in the pudding rather than on top. The idea was to incorporate some cherry flavor and color into the pudding. In retrospect I probably should have purred the cherries in the food processor because the chopped cherries didn’t give me the pink color I was looking for.
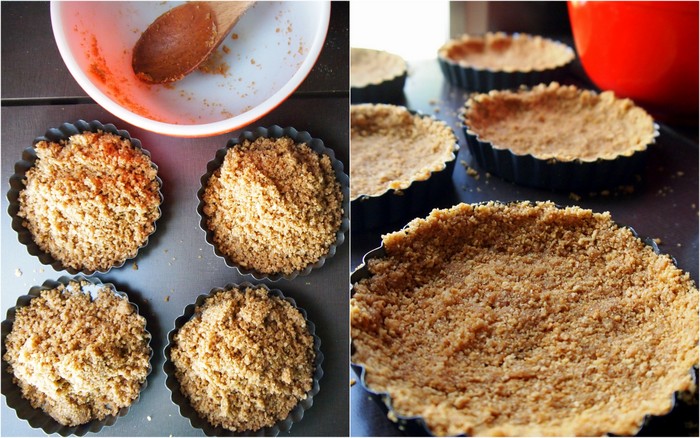
After making the pudding I got to work on some super simple no bake tarts. Crushed graham crackers, butter, sugar, and a dash of cinnamon all mixed up and spooned into tart pans. A quick press with the fingers and into the freezer to stiffen up for an hour.
After the pudding and tarts had chilled for awhile it was only a matter of spooning the pudding into the shells and topping with fresh berries.
I think I’ve confirmed it. Chia seeds are good for pets and pudding.
Cherry-Berry Chia Seed Pudding Tarts
Inspired by No Bake Orange Cream Tartlets with Mixed Berries by Oh, Ladycakes
Makes: 6 4-inch tarts, or 1 9-inch tart
1 can (14 ounces) coconut milk
3 tablespoons maple syrup or honey
1 teaspoon vanilla extract
1/3 cup chia seeds
1/2 cup seeded, chopped or purred cherries
12 graham crackers
2 tablespoons sugar
1/8 teaspoon salt
1 teaspoon cinnamon
10 tablespoons butter, melted (use vegan butter or melted coconut oil as a vegan option)
2 cups fresh berries
1. Make the pudding. In a medium bowl combine the coconut milk through cherries. Mix well so all the chia seeds are submerged in the liquid. Cover and place in fridge for about 1 hour.
2. Make the tarts: Place the graham crackers in a sealable plastic bag and crush with a rolling pin. Place in a bowl and add the sugar, salt and cinnamon. Pour the melted butter over the top and mix well.
3. Press the graham crackers mixture into 6 4-inch tartlet pans, or 1 9-inch tart pan. Place in the fridge to firm up for at least 1 hour, or the freezer for at least 30 minutes.
4. Remove the ingredients from the fridge and spoon the pudding into the tart pans. Top with fresh berries.
Aug
Grilled Corn + Poblano Pepper Skillet Quesadillas
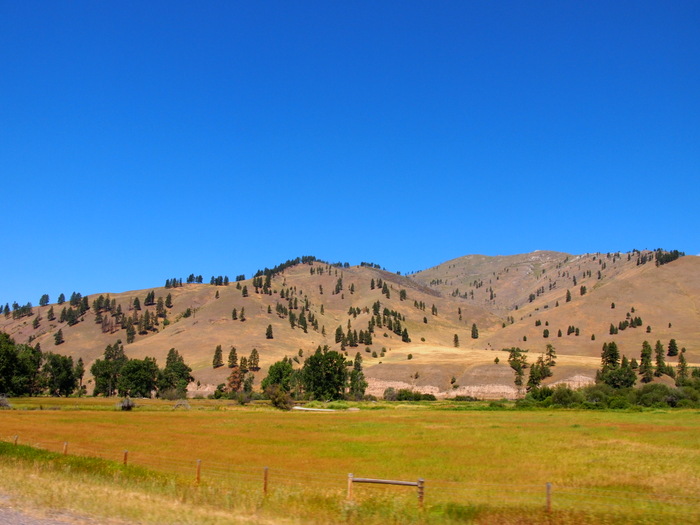
Last weekend we drove across nearly the entire state of Montana. If you’ve never been to Montana then I am here to tell you it’s big. I mean really big. So big that you could fit all of the New England states inside Montana and still have room left over for New York and at least part of Pennsylvania. That’s big. The ginormous size of Montana meant that we had a lot of distance to cover. Seven hundred miles to be exact. Seven hundred miles of seemingly endless grasslands, low rolling hills and wide open sky.
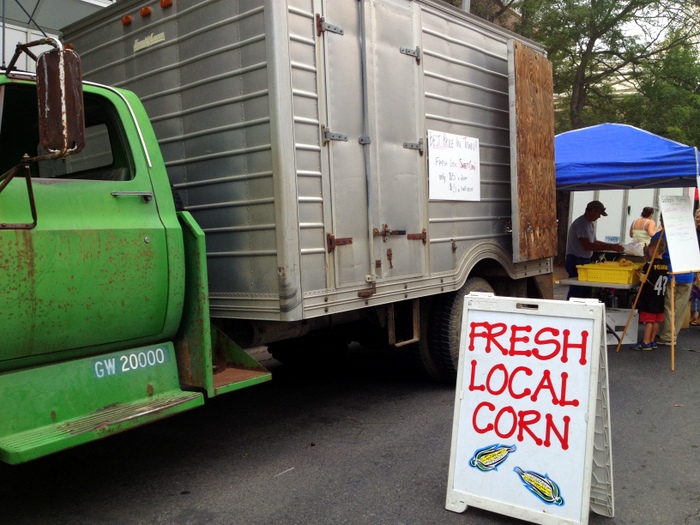
In an effort to break up the long drive we made a couple of stops on the way. The first was in Billings where we spent a few glorious hours at the farmers market. One of my favorite aspects to our nomadic lifestyle is the ability to visit farmers markets in so many different towns. I’ve never been to Billings before, and I really couldn’t tell you anything about the city, but I do know that the Saturday morning downtown farmers market rocks. We arrived about an hour before before closing to find the quadrant of roped off streets packed with people shopping, eating and just milling around. With no time to waste we jumped right in and quickly had arms and bags full of juicy berries, fat ripe zucchinis, glossy red onions, a bag of freshly shelled peas, bright orange carrots, and a jar of raspberry-rhubarb jam that I can’t wait to crack open. Finally, with closing time looming I took my place in line at the corn truck and for a measly $3 got a half dozen of the most gorgeous bi-color early season corn on the cob.
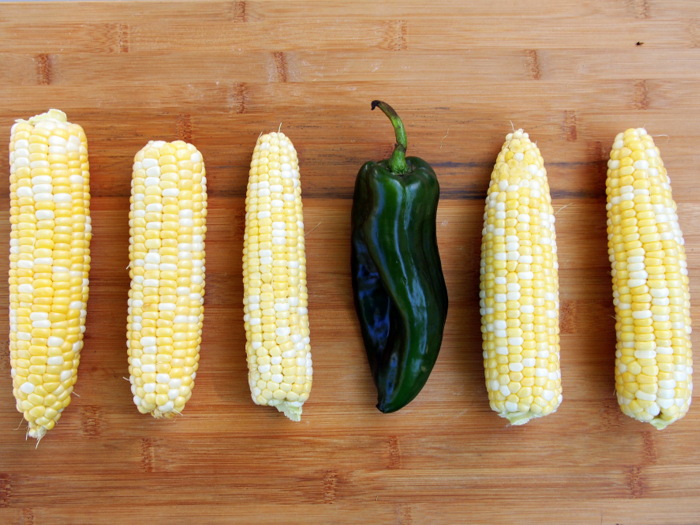
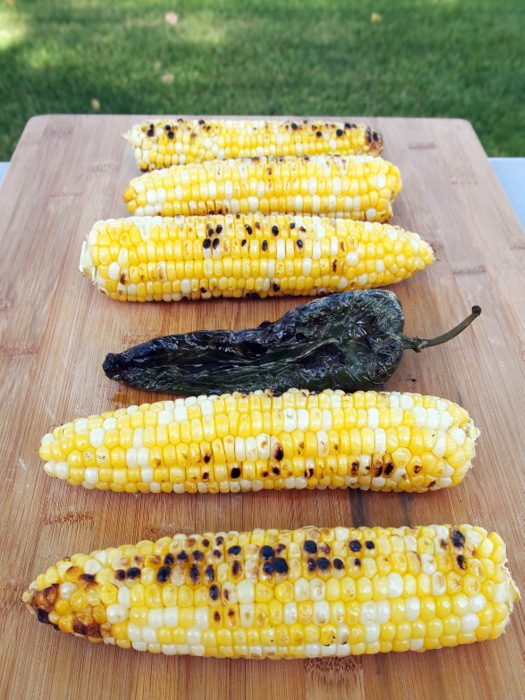
After many more hours of driving we arrived at our final destination in Missoula on the far west side of the state. There’s nothing better than pulling in after a long journey and unpacking bags of fresh produce. Looking over my final haul I realized that I had the complete makings of a meal. Fresh corn on the cob, a shiny poblano pepper, a bunch of pungent red onions, a head of garlic, and a bag of homemade tortillas. Combine this with some pepper jack cheese I already had in the fridge and we were in the quesadilla making business. My absolute favorite way to cook corn on the cob is on the grill. I love how the kernels caramelize over the high heat and give the already sweet vegetable an almost candy-like flavor. Usually I roast my peppers over the flame on my stove, but since I already had the grill hot and ready, I threw the pepper on as well. Of course, if you don’t have a grill you can just as easily char both your corn and pepper over the stove, but since it is summer, for me the grill is the way to go. I just love how in mere minutes the corn and pepper go from this…
To this…
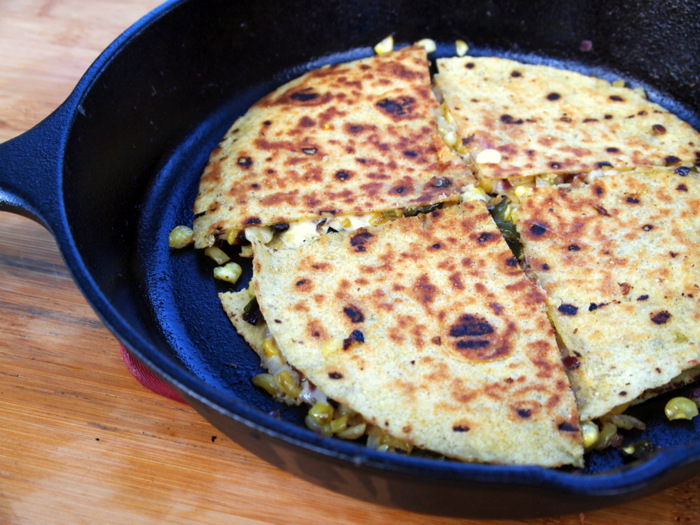
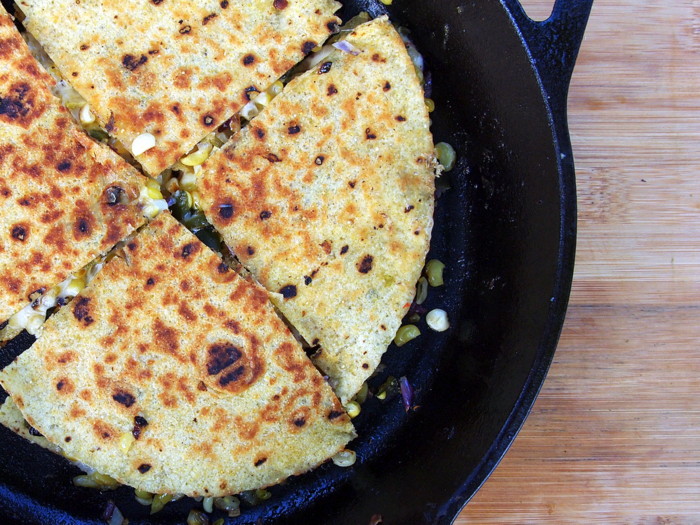
I briefly considered cooking the quesadillas on the grill, but then decided the mess-factor of melty cheese dripping all over the grill grates was too high. Instead I used my trusty cast iron skillet which produced the most perfect crispy crust.
In most parts of the country corn season is upon us, so stop by your local farmers market, buy some corn, and get grilling!
Grilled Corn + Poblano Pepper Skillet Quesadillas
Serves: 4
5-6 ears of corn, or 3 cups of kernels
1 poblano pepper
2 tablespoons olive oil, divided
1 small red onion, diced
2 cloves garlic, minced
2 cups pepper jack cheese, shredded
salt and freshly ground pepper
8 flour or corn tortillas
Optional toppings: Salsa, Sour cream, guacamole or mashed avocado
1. Heat the grill over medium high. Brush the corn and poblano pepper with olive oil. Lay them on the hot grates and close the lid. Cook for 10-12 minutes, turing often. You will know the cron is done when the kernels turn bright yellow in color and dark brown spots appear. The pepper will also turn a dark brown and the skin will blister.
2. Remove the veggies from the grill and place the pepper in bowl covered with plastic wrap. When the corn is cool enough to handle cut the kernels from the cob.
3. After the pepper has steamed in the bowl for 10 minutes you will be able to slide the skin off with your fingers. Don’t worry if a few bits of charred skin remains. It only adds to the flavor. Cut the pepper in half and remove the seeds and inside membrane. Chop the pepper into small dice.
4. Heat a 10 or 12-inch cast iron skillet over medium-heat (you can use any kind of skillet, but cast iron will give the quesadillas the best crispy exterior). Heat a teaspoon of olive oil and then saute the onion and garlic for 3-4 minutes until the onion is soft. Remove the onion and garlic and wipe out the pan.
5. In a medium bowl combine the corn, pepper, onion and garlic. Add salt and pepper to taste.
5. Bring the skillet back up to temperature over medium-high heat. Now it’s time to layer up the quesadillas. Start by brushing one tortilla with olive oil and place it oil side down in the skillet. Top with a thin layer of cheese, one fourth of the veggie mixture, more cheese and another tortilla. Brush the top tortilla with a little bit of oil.
6. Cook 5 minutes until the bottom is brown and the cheese is melted. The easiest way to flip the quesadilla is by cutting it in quarters using a sharp knife while in the pan. Then you can flip each piece individually. If you want to try and flip the whole thing (or if you’re using a non-stick pan) try using two spatulas to lift both halves at the same time. This has never worked well for me, and I prefer the cutting method, but maybe some of of you have better flipping skills than me. Cook the second side for 2-3 minutes until brown on the bottom.
7. Repeat with the reaming ingredients. You will end up with 4 quesadillas or 16 pieces.
8. Serve with salsa, sour cream, or guacamole. Or just eat them plain and let the flavor of the fresh summer veggies shine!

